Marble Sort Level 119 Walkthrough & Solution
Marble Sort Level 119 walkthrough: feed the middle columns to twin chutes first, split the emerald and Green stacks, and save the edge Reds and Oranges for last.
Levels · 119

Marble Sort Level 119 Walkthrough & Solution
Level 119 Board Overview: The Center-Chute Tray
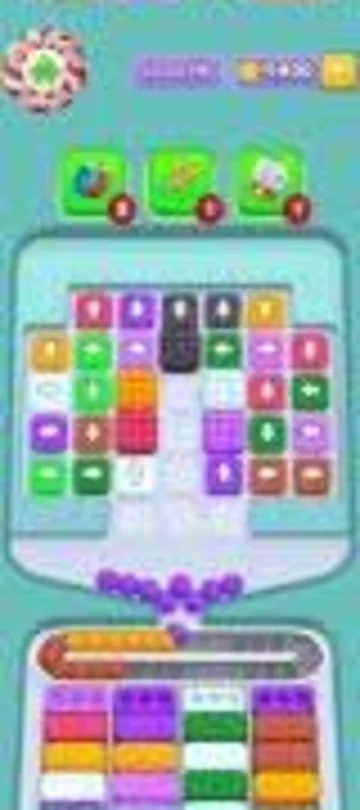
Level 119 packs a dense, seven-column tray that feeds a wide conveyor belt through two vertical chutes. The top row is nearly all business: a Red cell second from the left, a Purple beside it, and an Orange parked on the far right, with a pair of empty grey cells between them that never deliver anything. The second row stacks Orange, Green, Purple, a deep-green emerald, another Purple, and a Red along the right edge.
The middle of the tray is where the level gets interesting. Rows three and four crowd Reds, Oranges, Purples, and emeralds around the two chutes — a center-left drop beside the left edge and a wider center-right chute between the middle columns. Lower down, a single Blue cell sits stranded in the middle of the board, and the bottom rows hold bright Green cells plus a few grey empties. The receiver rows below the belt already carry Green and Purple boxes up front, with Red, Orange, and deep-emerald boxes behind them — and the whole bottom row of receivers cycles as boxes fill.
Nothing is wasted, but almost everything is a waiting game. The tray gives its marbles up from the center outward, and the colors that sit farthest from the chutes are the ones that finish the level.
The Trap in Marble Sort Level 119
The board looks like it wants you to clear the edges first, because the Reds and Oranges are so visible. It does not.
- Reds and Oranges park on the edges: the top-row Red (second from the left) and the top-right Orange are the last two marbles to leave the tray, emptying only in the final thirty seconds. The Orange on the far left of row two and the Red column on the far right both wait through the first half of the solve.
- Emerald hides among the Greens: four deep-green cells sit across the middle rows (one in row two, two in row three and four, one lower-left). They look like the bright Greens but clear in the first minute while the Greens last until the final stretch — treat them as separate stacks.
- The stranded Blue: one Blue cell sits lower-middle, right under the center-right chute. It looks like the easiest marble on the board, but no Blue box asks for it until the last third, so it sits untouched while everything around it drains.
- The grey decoys: the empty grey cells on the top row carry a marble-shaped icon and read as white marbles at a glance. They never deliver — plan around the colors you can actually move.
Marble Sort Level 119 Step-by-Step Walkthrough
The video solves the level in three passes: pull the center, ride the waves, then finish the edges.
Opening: pull the center
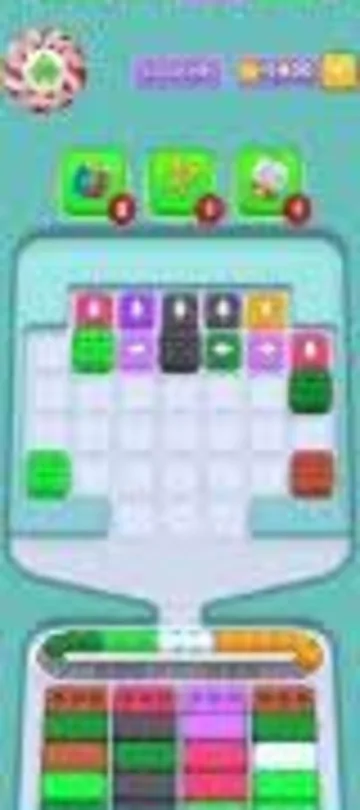
- Start at the middle of the tray — the Red cell sitting just right of the center-left chute is the first marble the video sends down.
- Drop the Orange beside it in row four next; both ride the first belt batch together.
- Release the Purple in the row above them, near the center-right chute, while the chute is still clear.
- Feed the deep-green emerald at the base of the center-right chute next — the emeralds go first, before the Green traffic starts.
- Clear the remaining emerald cells — one on the left edge of the lower rows and one on the far right — inside the first forty seconds. The center of the tray is now hollow.
Midgame: ride the waves
- The Orange stack on the far left of the second row is the first edge marble to move, going down around the 0:55 mark.
- Feed the bright Greens in the third row as their boxes come around; they clear just after the one-minute mark.
- The big Red wave hits around 1:25: the two Reds in row four and the Red in the third row leave together and fill the front Red boxes.
- Do not touch the top row yet — the top-left Red, the top-row Purple, and the top-right Orange hold position through the whole middle section.
- A second Orange wave rides the belt around 1:50, followed by the Red on the far right edge of row two at roughly 2:10.
- Let the remaining Greens at the bottom of the tray go as the midgame closes — they drain between the 2:20 and 2:40 marks.
Endgame: finish the edges
- Feed the stranded Blue down the center-right chute once the Greens are done — its box finally cycles into the front row.
- Clear the last Purples: the second-row Purple first, then the top-row Purple beside the Red, around the 2:45 mark.
- The top-right Orange drops just before the end, around 2:55, leaving a single marble on the board.
- The final marble is the Red parked in the top row, second from the left. It drops at about 3:03 and the tray empties, clearing the level.
Level 119 Tips Recap
- The chutes only feed from the center of the tray — the middle columns are the opening, and the edge Reds and Oranges are the finale.
- The deep-green emerald cells clear in the first minute; keep them separate from the bright Green stacks that follow.
- The single Blue in the lower middle is bait until the last third of the solve.
- Watch the belt queue: batches of marbles ride together, so release a color only when its receiver row is on the front.
Related Articles
blog
Marble Sort Video Walkthroughs — All Levels on YouTube
Every Marble Sort level 1-20 solved on video — the complete walkthrough series by Rock Gaming Channel, embedded level by level with links to the written guides.
level
Marble Sort Level 1 Walkthrough & Solution
Marble Sort Level 1 walkthrough: dodge the checkerboard bait, tap the front Yellow blockers first, and dig out the buried Light Blue clusters step by step.
level
Marble Sort Level 10 Walkthrough: Tunnel & Pink Bait
Marble Sort Level 10 walkthrough: dodge the double Pink bait, tick the Tunnel countdown down from 3, and survive the Light Blue wall step by step.
Was this helpful?
Thanks for the feedback!